A clogged toilet can feel like a household emergency — whether caused by too much toilet paper, hair, or unexpected objects falling in. Many people immediately think of calling a plumber, but here’s the truth:
👉 Using a plunger correctly can fix about 80% of toilet clogs
It’s fast, cheaper than a service call, and anyone can do it with the right technique.
This guide will teach you how to unclog a toilet with a plunger like a pro — including tool selection, step-by-step instructions, common mistakes to avoid, and a bonus trick for stubborn blockages.
Start with Preparation: Choose the Right Plunger + Protect Yourself
Before you go straight into plunging, the first step is choosing the right tool and setting up properly — this prevents messy splashes and saves a lot of frustration.
Choose the Correct Plunger
Not all plungers are designed for toilets!
| Feature / Type | Toilet Plunger (Flange) | Sink Plunger (Flat Cup) |
|---|---|---|
| What It Looks Like | Bowl-shaped rubber cup with a flexible “skirt” | Flat round rubber cup |
| Works for Toilets? | Yes — Best choice | No — Ineffective |
| Seal Performance | Excellent — Fits curved toilet drains tightly | Poor — Can’t seal toilet openings |
| Main Use | Designed specifically for toilets | Designed for sinks & flat drains |
| Recommendation | Use this for most toilet clogs | Avoid using on toilets |
Pro buying tips
- Look for a “toilet” or “flange” plunger label
- Material: natural rubber seals better than recycled rubber
- Price range: $10–20 is plenty for home use
- Anti-slip grip is a plus
Protect the area
- Wear latex or nitrile gloves to avoid direct contact with sewage
- Place old towels around the toilet base to catch spills
- If water level is too high, scoop out water until 1–2 inches remain above the drain — this improves suction and prevents splashing

Proper Steps to Unclog a Toilet with a Plunger
Remember this formula:
Seal → Push Slowly → Pull Fast → Repeat
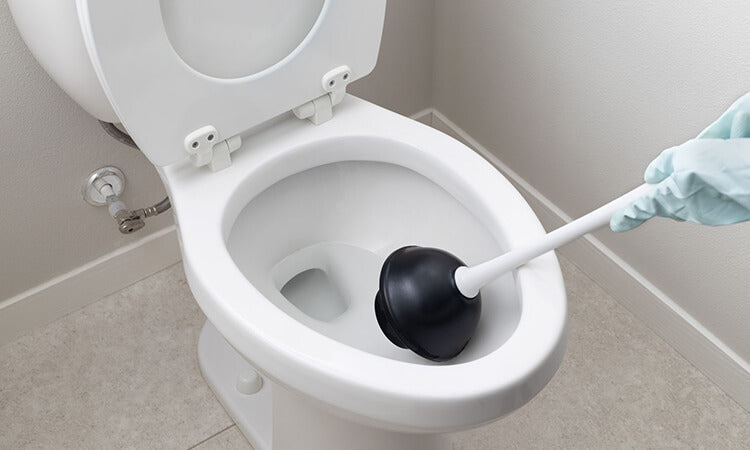
Step 1 — Create a Perfect Seal
- Locate the drain hole at the bottom of the bowl
- Press the plunger firmly onto the drain until you feel it grip
- If there’s no suction, adjust until airtight
Tip: A little dish soap on the rim helps seal better
Step 2 — Push Slowly, Pull Fast
- Slowly push down 2–3 inches — no sudden force
- Hold for 2–3 seconds
- Pull up quickly but do NOT break the seal
- Maintain a steady pace: 1 cycle every 2 seconds
- This motion creates high negative pressure that loosens the blockage.
Step 3 — Check Water Level
After 5–6 motions:
- If the water level starts dropping, keep going — you’re making progress.
- If no movement, re-adjust the seal and try again (Or check the troubleshooting section below)
Step 4 — Clean and Disinfect
Once the toilet flushes normally:
- Flush again to ensure the drain is clear
- Wash the plunger with hot water + detergent
- Disinfect plunger and surrounding floor area
Avoid These 5 Common Mistakes
❌ Mistake #1: No water in the bowl
Without water, there’s no pressure → the plunger won’t work
✅ Keep 1–2 inches of water above the cup
❌ Mistake #2: Pressing too hard
Too much force → seal breaks → dirty splash zone
✅ Technique matters more than strength
❌ Mistake #3: Trying to remove hard objects
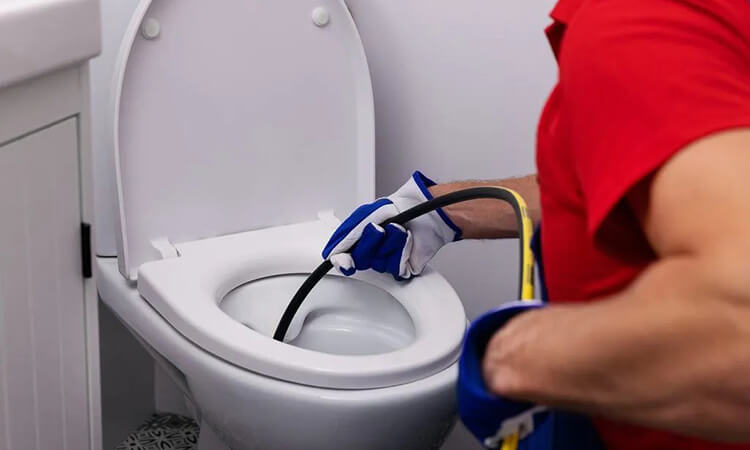
If a phone, toy, or tool is stuck — stop
✅ Use a toilet auger or call a plumber
❌ Mistake #4: Not holding the downward pressure
Negative pressure needs time
✅ Hold 2–3 seconds before pulling
❌ Mistake #5: Skipping disinfection
Leftover bacteria can spread illness
✅ Clean everything when finished
Pro Tip for Stubborn Clogs
If the clog is still slow to clear after a few cycles:
- Plunge 5 times to loosen blockage
- Pour in a bucket of hot (not boiling) 105–120°F / 40–50°C water
- Let sit for 1 minute
- Seal + plunge again
Warm water softens paper and grease buildup, improving suction power.
⚠️ Don’t use hot water on old cast-iron toilets — use warm water instead.
Ending
Using a plunger feels simple — but knowing the proper technique means:
✅ No panic
✅ No expensive plumber calls
✅ 80% of clogs solved in minutes
Next time the toilet clogs, take a breath, gear up, and follow the steps above — you’ll feel the satisfaction of fixing it yourself.
But remember:
📌 If a hard object is stuck or the pipe might be damaged → call a professional
Efficient repair always begins with correct judgment and smart action.


