
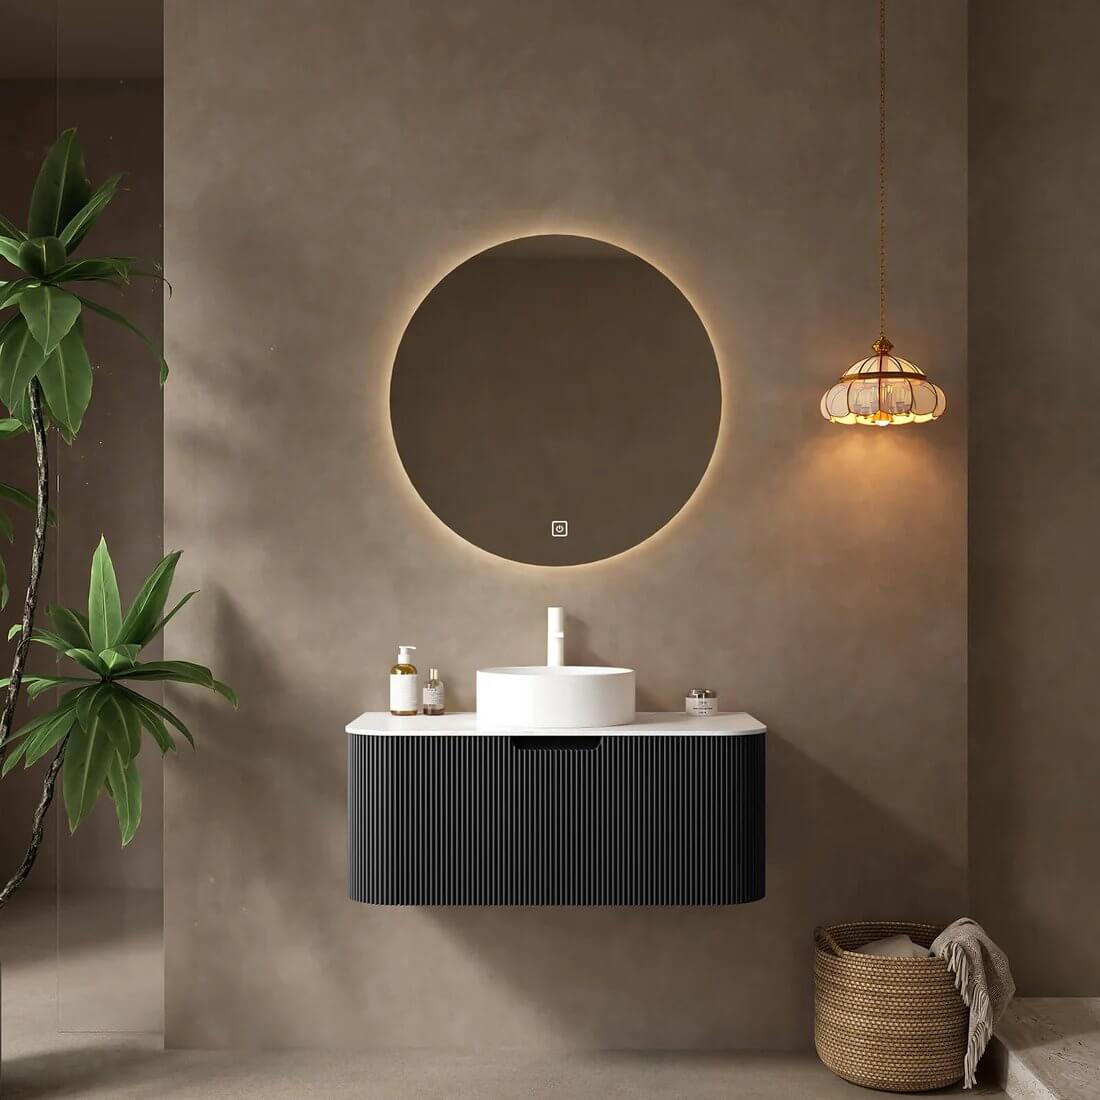
Floating or wall-mounted vanities have become increasingly popular in modern bathroom renovations thanks to their clean lines and minimalist aesthetic. If you're considering buying one but feel unsure about the installation process—or if you've already purchased one and are not sure where to start—this practical guide will walk you through everything you need to know, from wall preparation to final hardware installation.
Things to Know Before You Begin
Unlike floor-standing vanities, floating vanities rely entirely on the wall for support. This means the installation places higher demands on structural integrity and may take more time. If additional support needs to be installed behind the wall, the project may extend from a few hours to one or two days. If you don’t have experience with plumbing or bathroom carpentry, we recommend consulting with a professional installer to ensure safety and long-term durability.
Step-by-Step Installation Process
Step 1: Prepare the Tools
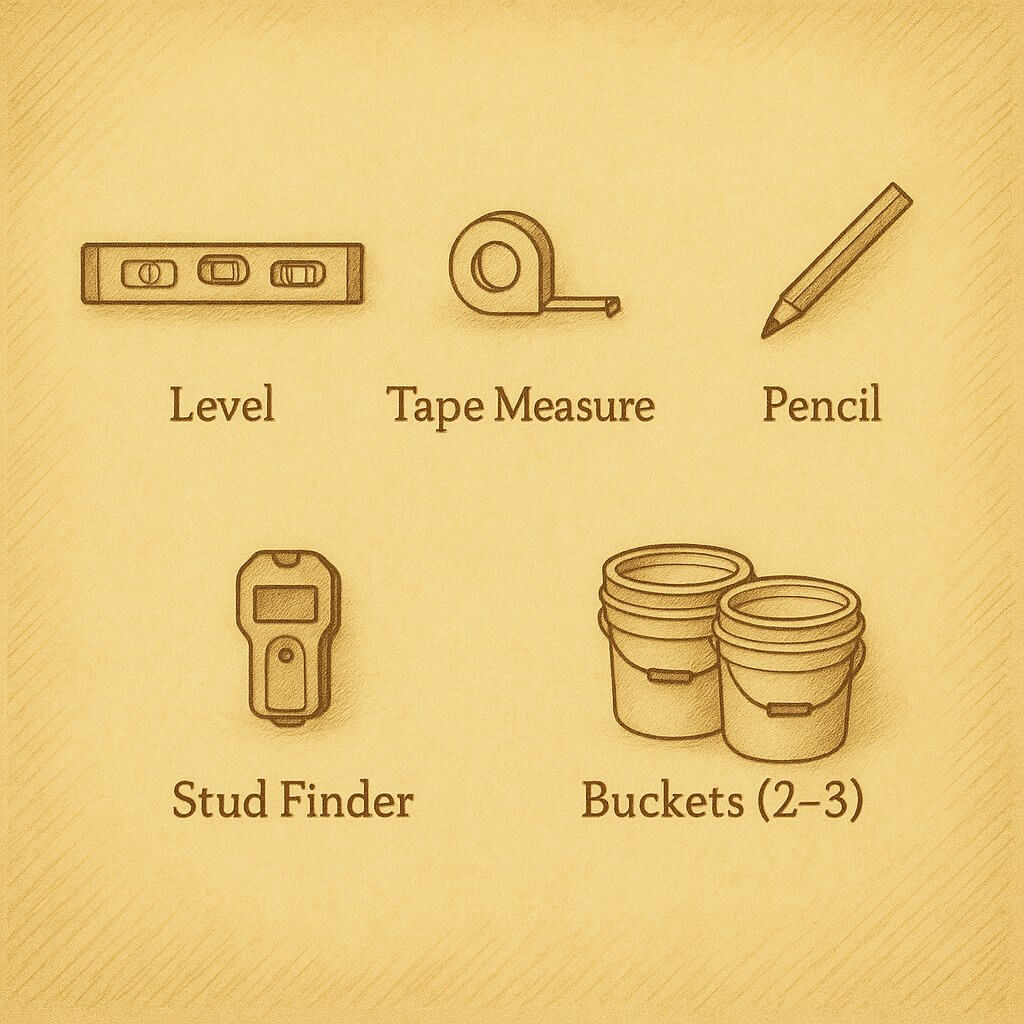
Before you start, gather the following tools and materials:
- Level
- Tape Measure
- Pencil
- Stud Finder or Knock Test
- Buckets or wooden blocks (2–3) for support
Note: These tools are not included with your vanity purchase, so make sure to have them ready beforehand.

Step 2: Mark the Installation Location
Begin by outlining the approximate location of the vanity on your wall. This will help you plan your layout more accurately.
When marking the height, subtract the thickness of the countertop from your desired final height. Use a level to draw a horizontal line across the wall at that adjusted height. This line will act as the baseline for positioning the bottom of your vanity.
If you're unsure about the ideal height, a standard countertop height of 36 inches (about 91 cm) from the floor is considered comfortable for most adults in the U.S. and Europe. You can also adjust it based on the primary user’s height for optimal convenience.
Further Reading: Bathroom Vanity Height Selection Guide
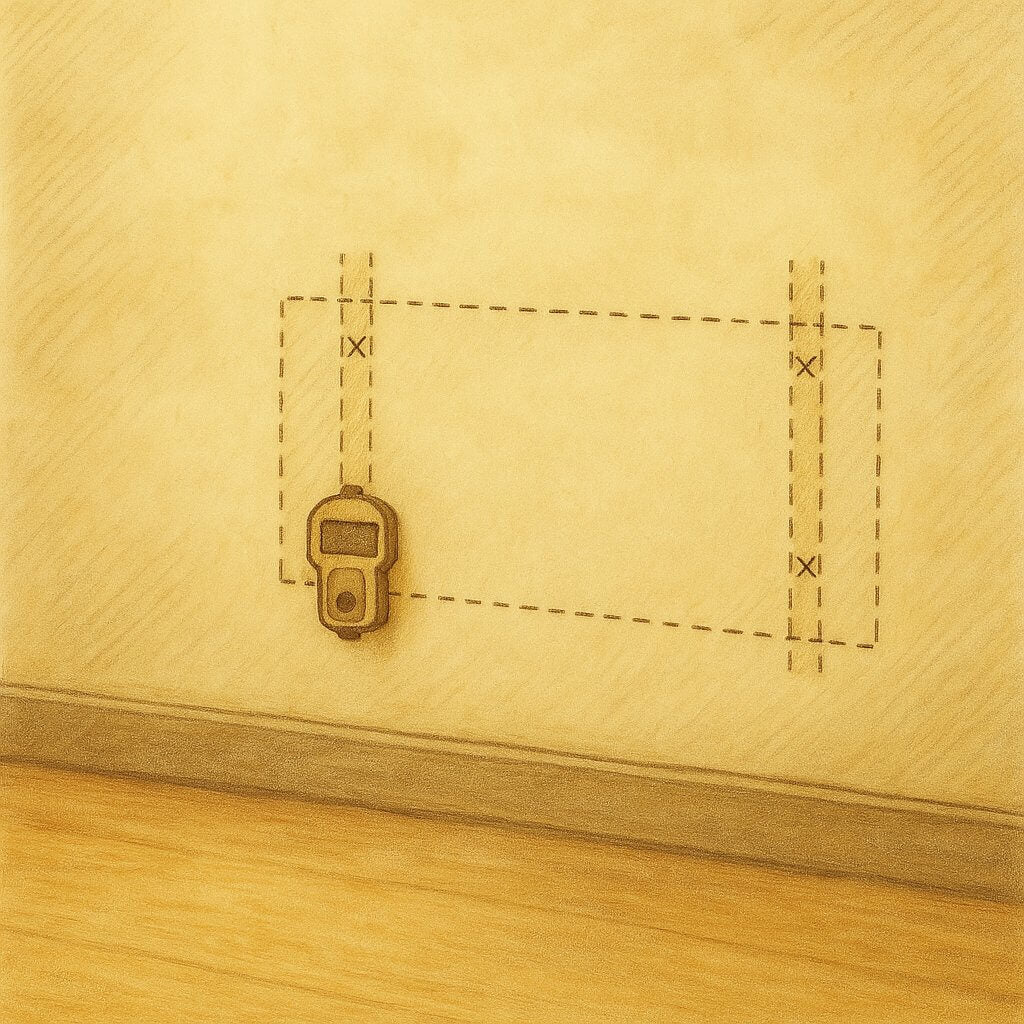
Step 3: Locate and Mark Wall Studs
To ensure a strong and safe installation, the vanity must be anchored to wall studs—not just drywall or hollow areas.
The most accurate way to find studs is to use an electronic stud finder. Place it against the wall and slowly move it horizontally. It will beep or light up when it detects the edge of a stud.
If you don’t have a stud finder, you can use the knock test: tap the wall lightly and listen. Solid areas will sound dull, while hollow areas will sound more echoey. While this method is less precise, it can serve as a backup.
Once located, clearly mark the center of each stud with a pencil. If there are no studs where you need to install the vanity, install a horizontal support block between two nearby studs using 2x4 lumber.

Step 4: Mount the Vanity
Before securing the vanity, have a helper assist with lifting and aligning the unit. If you're working alone, use buckets or wooden blocks to hold the vanity in position. Make sure the bottom edge aligns perfectly with your previously drawn guideline.
Use the mounting brackets and screws provided with your vanity to secure it to the wall studs. Always drill pilot holes first—this prevents wood from splitting and ensures more secure anchoring.
Once mounted, test the vanity’s load-bearing ability by placing several heavy items (such as water bottles or tools) inside. Watch for any signs of wobbling, sagging, or pulling from the wall.
Note: All wall-mounted vanities purchased from Giving Tree Home come with the necessary mounting hardware and brackets—no need for additional purchases.

Step 5: Final Assembly
If you’ve purchased a flat-pack vanity (i.e., one that comes unassembled), we strongly recommend not installing the doors, drawers, or countertop until the cabinet is fully mounted. Keeping the unit lighter and easier to handle during installation will make the process smoother and safer.
- Installing drawers and doors: Use a screwdriver to adjust hinges, ensuring smooth open-close functionality and proper alignment. Drawer tracks should be carefully aligned for smooth, wobble-free operation.
- Installing the countertop: Apply a continuous bead of waterproof silicone around the top edge of the vanity base. Carefully place the countertop into position, press it down gently to ensure adhesion, then wipe off any excess silicone with a damp cloth. Allow at least 24 hours for the silicone to fully cure before using.
Floating Vanity Installation FAQ
Q1: Is It Hard To Install A Floating Vanity By Myself?
It depends on your experience. The process involves measuring, finding studs, drilling, and securing the unit. If you're handy and comfortable with tools, it’s doable. Otherwise, consider hiring a professional.
Q2: Can A Floating Vanity Be Installed On Any Type Of Wall?
Technically, yes—but it must be anchored to wall studs or reinforced backing. If you're working with drywall or hollow walls, you’ll need to install blocking or use specialized wall anchors to ensure safe support.
Q3: Can Uneven Walls Affect Installation?
Yes. Uneven surfaces can lead to tilted cabinets or improper alignment. Use a level beforehand and shim as needed to ensure proper balance.
Q4: What Is The Recommended Installation Height?
Typically, a height of 34–36 inches from the floor is ideal for most adults. You can customize this based on your own comfort and bathroom layout.
Q5: What Kind Of Silicone Should I Use For The Countertop?
Use high-quality waterproof and mold-resistant silicone designed for bathroom use. Avoid general-purpose silicone, which may not last in humid conditions.
Q6: How Long Should I Wait Before Using The Vanity After Installing The Countertop?
Wait at least 24 hours to allow the silicone to cure fully. Using it too soon could result in loose bonding or water leakage.
Q7: How Much Weight Can A Floating Vanity Hold?
If properly mounted to studs or reinforced supports, most floating vanities can safely support over 100 lbs (45 kg)—including the countertop and toiletries. Avoid sitting on the unit or placing excessively heavy items.
Q8: Will Removing The Vanity Damage The Wall?
If installed correctly, minimal damage will occur during removal. However, if expansion anchors or heavy-duty fasteners were used, patching and repainting may be required afterward.
Ending
Installing a floating vanity might seem intimidating at first, but with the right tools, preparation, and attention to detail, it’s a highly rewarding DIY project that can dramatically elevate your bathroom’s style and function. If you’re ever in doubt—especially when dealing with unfamiliar wall structures or plumbing layouts—don’t hesitate to reach out to Giving Tree Home.
More Ideas
-

How to Choose the Right Bathroom Vanity Mirror Size Correctly
Choosing the right bathroom vanity mirror size is one of the most important decisions in a bathroom renovation, yet it is often made at the last minute. In many projects...
-

Bathtub Overflow Drain: Complete Guide to How It Works and Maintenance
A bathtub overflow drain is an essential safety feature built into most modern bathtubs. Although small and easy to overlook, it plays a vital role in preventing water from overflowing...
-

The Impact of Interior Finishing Details on Home Aesthetics
Creating a beautiful home involves much more than selecting furniture, paint colors, or flooring. The most visually appealing interiors often succeed because of the smaller details that bring every element...
-

Stone Resin vs Solid Surface Bathtub: Which One to Choose?
Choosing the right freestanding tub can completely change the feel of a bathroom. For many homeowners comparing premium soaking tubs, the biggest question comes down to one decision: stone resin...
-

Freestanding Tub Splash Solutions That Actually Work
A beautiful freestanding tub can completely change the look of a bathroom. It creates a spa-style focal point and adds a luxury feel that built-in tubs rarely match. But one...
-

Floating Toilet vs Floor Mounted Toilet: Which Saves More Space?
When planning a modern bathroom remodel, one of the most common layout questions homeowners ask is floating toilet vs. floor-mounted toilet: which actually saves more space? The answer is more...


